
For the record, this is the two teams and what they fielded- forces and superheavies:
· Alan- Space Wolves and Marauder Bomber
· Adam- Goff Orks, Imperial Guard and Stompa
· Colin- Daemons from all four Ruinous Powers!
And on the other side of the table,
· Ash- Crimson Fists, Vanilla Marines, Necrons and Chaos Baneblade
· Jeff- Ultramarines, Salamanders and Baneblade
· Me- Deathskull Orks, Dark Angels and Stompa
So, with six of us ready and raring to go and a table loaded with fancy terrain (really? Oh wow :P) we got stuck into it! Once underway the dice were flying thick and fast, squads started moving, drop pods fell from the sky and the bodies started to pile up. My team took the central objective with my sniper scouts infiltrating, and Jeff successfully landed two drop-pods on the raised highway either side of the junction objective and one on the central objective as well, high up on the landing pad! Ash’s Necrons surged forward to cap the third objective out on our right. Thats basically all I remember regarding turn sequence, the rest of the game then rolled into one carnage filled extravaganza, where shield generators turned aside insane firepower, scheduled bombardments took out friend and foe, and insane bravery was the order of the day (well, at least on our side in the last few turns!). The following points below are the major upsets, kills or events that I remember from the game, as well as some provided to me by the other boys on the day.
My Shokk Attack Gun Ork Mek fires a double 6 and “hit” on the scatter dice, first shot of the game. This “Removes from play” a massive chunk of Imperial Guard, and puts a target on the poor guy for the rest of the game. He eventually cops an attack from a Valkyrie firing krak missiles on his position.
The Sniper Scouts and the Tactical Squad that drop-podded onto the central objective building sat there the whole 5 turns taking fire from artillery, orbital bombardments from ships above, heavy weapons companies on the ground and many more. Not once did either squad break, with every break and pinning test passed, these guys generated loads of objective points for our side. The final sniper scout died after a massed assault by a horde of Chaos Furies.
Both stompas used their “super gatlers” to mow down at least 30 opposing infantry around each other’s feet- these guns keep spraying 2D6 Str7 shots from one squad to the next (within 6”) until a double is rolled... insanity! I hit about 9 squads in total, Adam did a bit more IIRC.
Second turn, my Callidus Assassin (the mini is the old “Imperial Assassin- so he’s a guy!) pops up next to Logan Grimnar and kills him and his one remaining Terminator Wolfguard in close combat/nasty shooting (the others had died to massed Plasma Cannon fire from a Devastator Squad). He then chases down and annihilates a further squad before being capped by an Imperial Guard heavy weapons squad. Best 135pts i’ve spent in a long time, i now owe him a flash paintjob!
A Salamanders captain and Scout squad drop-podded into the enemy lines, in the midst of a carpark full of Imperial Guard artillery tanks, they sowed confusion and anarchy for several turns before being gunned down.
A Salamanders captain and Scout squad drop-podded into the enemy lines, in the midst of a carpark full of Imperial Guard artillery tanks, they sowed confusion and anarchy for several turns before being gunned down.
Multiple Greater Daemons and Daemon Princes teleported behind the line, killing great swathes of power armoured squads in close combat. A small group of nurglings holds up a tactical squad in combat for three whole turns, and then the Ork mob near the bridge take 17 casualties from a single Apocalyptic barrage from in orbit....
An Imperial Guard Veteran squad Deepstriked onto the right flank ruins objective and only died after being shot at for two turns by a squad of Grey Hunters, 2 Devastator squads and the Chaos Baneblade, clawing some points back for their team.
An Imperial Guard Veteran squad Deepstriked onto the right flank ruins objective and only died after being shot at for two turns by a squad of Grey Hunters, 2 Devastator squads and the Chaos Baneblade, clawing some points back for their team.
Ragnar bails out of the BA Stormraven Gunship (mine, on loan to Alan), throws a Vortex grenade at my Dark Angels Landraider. The Vortex eats the LR, and Belial + 5 Deathwing in one gulp (625pts!!). My Ork Warboss and has mates then counterattack Ragnar and his Squad, Ragnar runs away really fast after he loses the entire squad he was attached to! Unfortunately for my side, the Wolf Lord could not be brought to justice. The vortex goes on to destroy several more Tactical Dark Angels, a Venerable Space Wolves Dreadnought and a couple of Orks before vanishing.
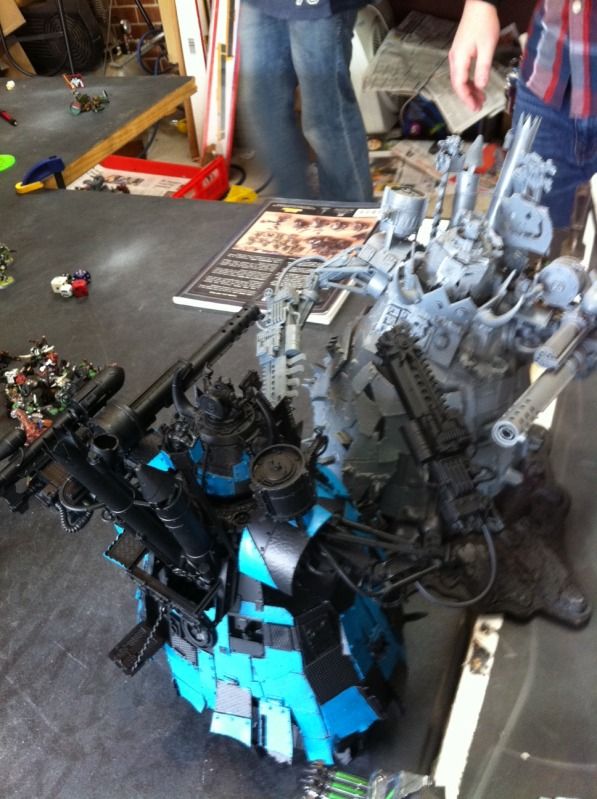
Both Ork Stompas on each side engage in violent and clanky close combat and systematically shred off each other’s guns, deal out drive damage and effect shaken and stunned result. Adam’s Stompa eventually dies when the Necron Nightbringer engages it in close combat and it explodes violently, taking some of his Orks with it! My Stompa remains locked in place immobilised with nothing but a close combat arm flailing wildly and a big burn on the front from the other Stompa’s ‘death blast’....
Hordes of Daemons from each of the four Chaos powers materialise on the bridge and go toe to toe with Scouts and Tactical Marines of the Ultramarines, Dark Angels, Salamanders and Crimson Fists for the junction, no one can gain an edge for 3 rounds and the junction provides no points to either side. On the last turn the Ultramarine Captain engages Kaeros Fateweaver (being played here by a ‘Doom’ CyberDaemon), and stabs it once, forcing a save that he fails- his failed wound forces a leadership test to see if he can teleport out of trouble, and he fails and dies as a result!
Scheduled Bombardment, then Orbital bombardment on the ruined building objective out right where the Necrons were concentrated, the casualites were way too high and the entire Necron force phased out after some surprise Manticore bombardment at the end. This took 20+ Necrons Warriors, the Nightbringer and a Monolith off the objective and opened the right flank up considerably.
Scheduled Bombardment, then Orbital bombardment on the ruined building objective out right where the Necrons were concentrated, the casualites were way too high and the entire Necron force phased out after some surprise Manticore bombardment at the end. This took 20+ Necrons Warriors, the Nightbringer and a Monolith off the objective and opened the right flank up considerably.
In the last few turns of the game, every single squad on our side passed every leadership based test required of it- could not be pinned, broken or fail a thing. This gave us the edge in terms of squads contesting or holding objective points, or being able to concentrate firepower to kill enemy units
And, some pics of the aforementioned carnage...
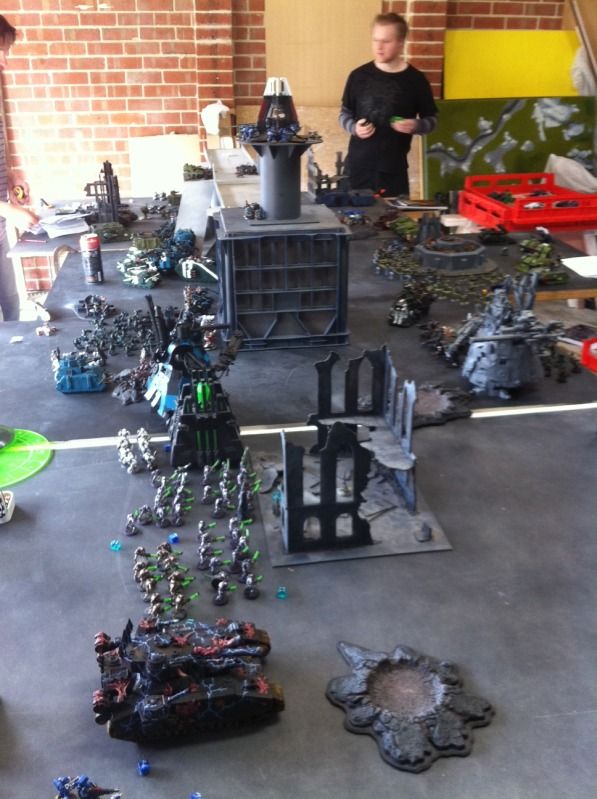
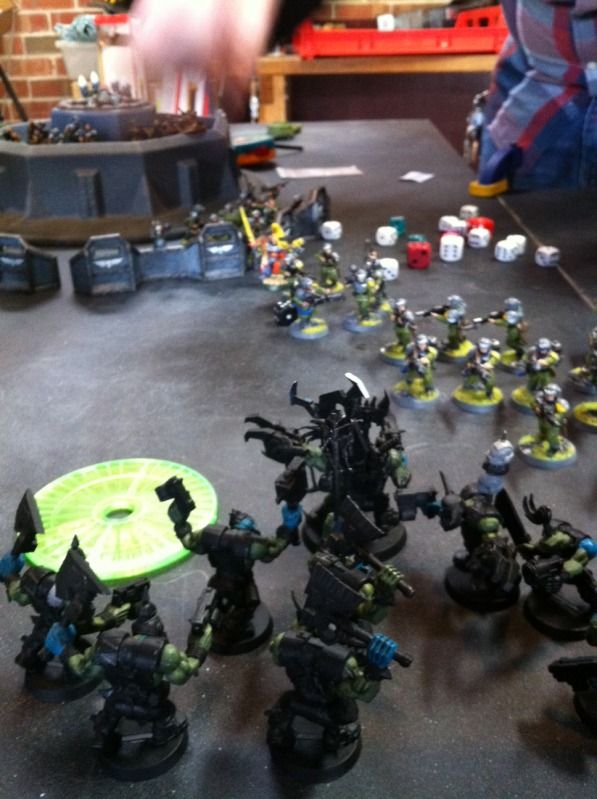
Our turn one, the horde advances whilst Colin ponders his next Daemonic move.
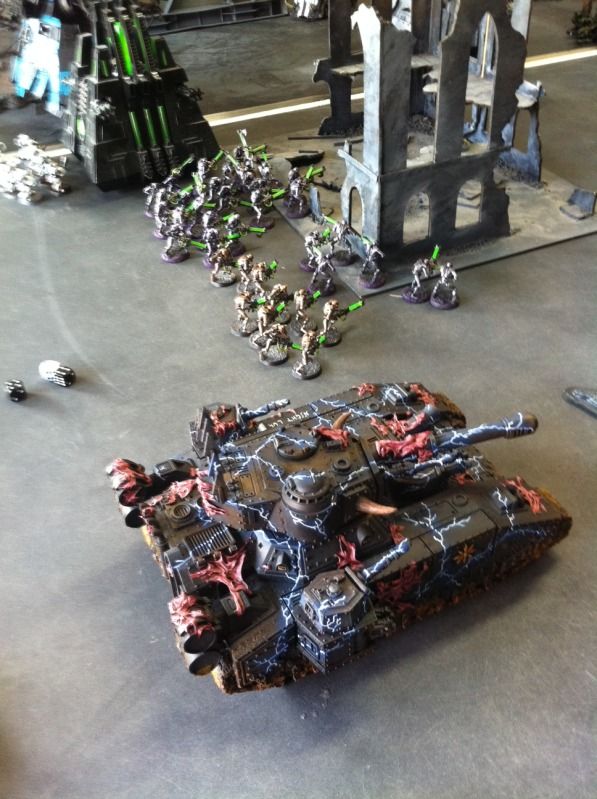
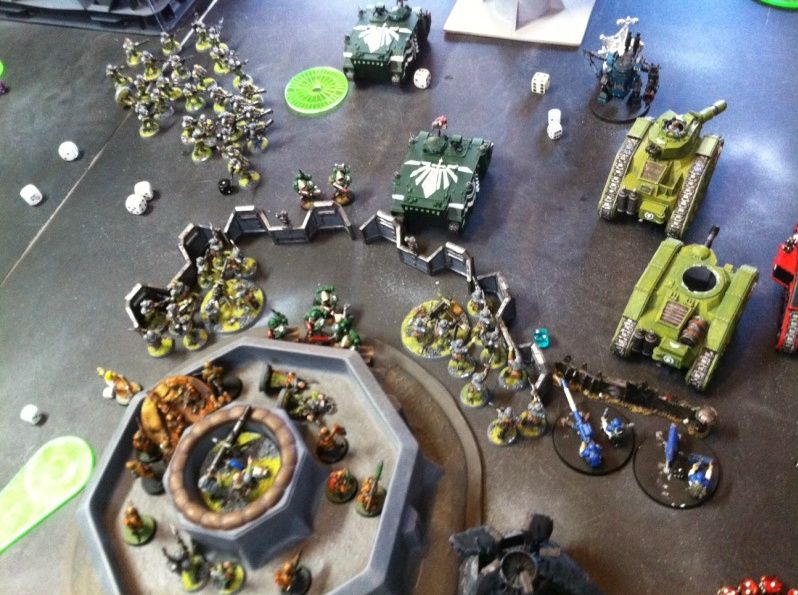
Ash's beautiful Chaos Baneblade anchors the right flank.
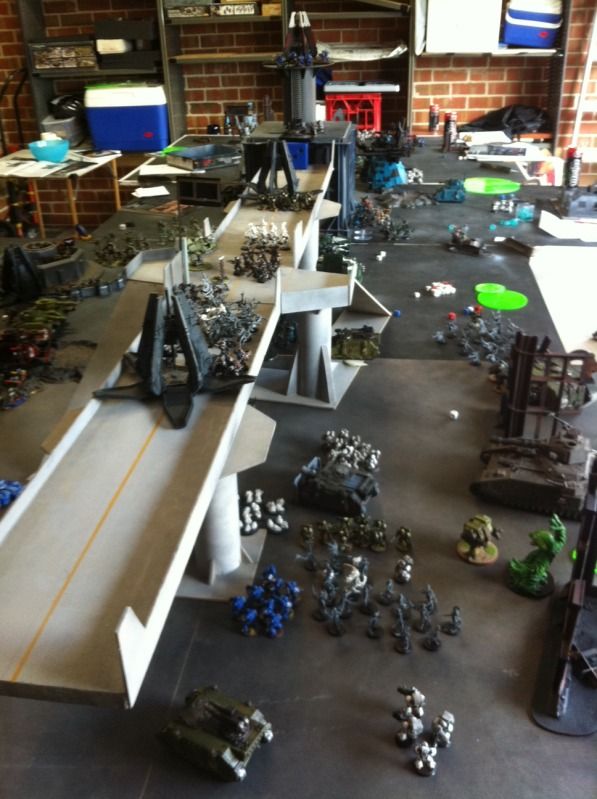
The raised highway, leading to the main depot building (aka the pimped out Milk Crate). This terrain worked better than expected!
Waaagh!! Stompa v Stompa.
Alan pie plates the opposition into paste. The Marauder is on the left, about to bomb the Necrons all the way back to their tomb world.

The Warboss and 'his ladz give chase to Ragnar after chopping his pups into pieces. The green template in front of them was actually the Vortex Grenade that killed Belial, the Deathwing and the Land Raider!!
No matter the cost: The Dark Angel tactical squad refused to break under fire, its remaining members barrelling through the guard lines to assault the enemy Commander, who was slain in close combat.
So, what was the result of the game?
With the “rolling score” (constantly accrues- see last blog entry for details) and the bonus pts on offer for killing opposing commanders (the closer the more points!), the result was 23 to 15 in favour of my side. The other team had an amazing comeback with a few commander kills and pushing us off objectives late in the game, but the last couple of turns for us saw two close-combat commander kills (both very much against the odds) to give us an unassailable lead. I think in the next game we’ll seek to start the objective counts from the second turn onwards, as infiltrating straight onto these objectives and gaining the points immediately is a little unbalanced (unless your opponent can react immediately). Im also keen to see people run with more flyers as the Marauder, Vendetta/Valkyrie and Stormraven all did very well at punishing our lines or deploying out troops to capture or contest- in this particular game Alan ruled the skies with an Iron Fist!
I’m hoping that by the next big Apoc game (November some time?) I’ll have some of my Blood Angels up and running, with at least a base coat of Mechrite red on the Stormraven and the NMM gold done for the Sanguinary Guard so they’ll both be playable with some colour on them to distinguish their allegiance.
I hope you enjoyed reading this update, and i'll have more up soon including preperation details for the next game!
Cheers,
Tempest
I hope you enjoyed reading this update, and i'll have more up soon including preperation details for the next game!
Cheers,
Tempest
No comments:
Post a Comment